Your branch settings control the fundamentals of how Booking Phoenix behaves for you — currency, tax, trading hours, name, contact details, and the look-and-feel of customer-facing pages. This guide walks through the core settings you should configure before going live.
Opening branch settings
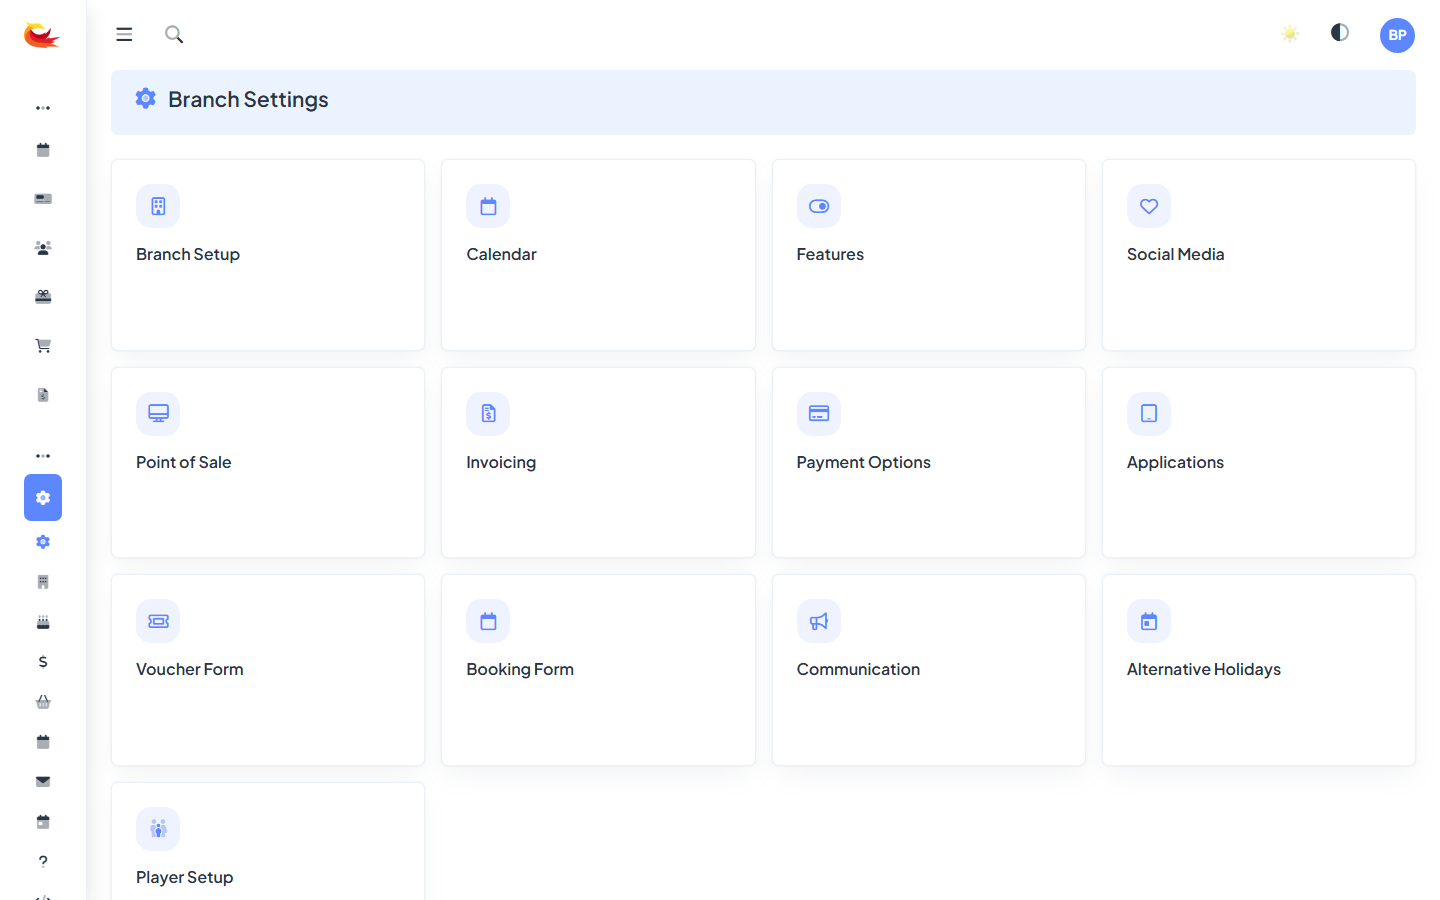
Go to Settings → Branch from the main menu. The settings are grouped into sections — work top to bottom.
Branch details
- Branch name — shown in emails, receipts, and confirmation pages.
- Address — your physical venue address. Appears in booking confirmations so customers know where to go.
- Timezone — critical. All slot times, emails, and reports use this timezone. Get this right before taking any bookings.
Timezone warning. Changing the timezone after you've taken bookings does not shift existing bookings — a 2pm booking stays at 2pm wall-clock, but reports may show mismatches. Set it right the first time.
Currency and tax
Currency
Set your primary currency (e.g. NZD, AUD, GBP, USD). This controls how prices are displayed on the widget, on receipts, in reports, and in Stripe (Stripe's account currency must match). One branch = one currency; if you operate in multiple currencies, use separate branches.
Tax
- Tax rate — your GST/VAT/sales tax percentage (e.g. 15 for NZ GST, 20 for UK VAT).
- Tax inclusive — whether prices you enter include tax. Most retail/hospitality businesses use inclusive pricing ("the $60 price is what they pay"). Some B2B businesses use exclusive ("$60 plus tax").
- Tax number — your GST/VAT registration number. Appears on tax invoices.

Get tax settings right before taking any bookings. Changing them retroactively changes how reports calculate tax — which can confuse your accountant.
Trading hours
Not the same as slot schedules — trading hours are the hours your business is contactable, shown on your booking confirmations ("If you have questions, our team is available 10am–6pm daily").
Configure hours for each day of the week. If you're closed on certain days, leave those days blank.
Contact details
- Customer-facing phone — the number customers should call.
- Customer-facing email — where customer replies to confirmation emails go.
- Booking notifications email — where staff get notified when a new booking happens. Can be a list (comma-separated). See Notification Settings.
Booking rules
A few settings that govern how the widget behaves:
- Minimum notice — how far in advance bookings must be made. E.g. "at least 1 hour" prevents someone booking for a slot that starts in 10 minutes.
- Maximum advance — how far in the future customers can book. Defaults to 1 year.
- Cutoff time — after which a slot closes to online bookings. E.g. "slots close 30 minutes before start" gives staff prep time.
- Allow back-to-back — whether a customer can book two adjacent slots in one room (some rooms need a cleaning gap).

Branding
Customer-facing pages (widget, confirmation emails, invoice PDFs) carry your branding:
- Logo — used on the widget header, in emails, on invoices. Upload a horizontal PNG or SVG on a transparent background. Ideal size: 400×100.
- Brand colour — primary accent colour. Used for buttons, links, and highlights.
- Email footer — custom text at the bottom of every transactional email (address, social links, unsubscribe note).
- Favicon — the small icon in browser tabs when customers are on your widget.
Terms and conditions
Two separate bits of text you should set:
- Booking T&Cs — what the customer is agreeing to when they book. Shown as a tickbox on the widget.
- Cancellation policy — shown on confirmation emails. Be explicit about deadlines, fees, and voucher vs cash refunds.
Multi-branch setups
If your tenant has multiple branches, settings are per-branch — every branch configures its own currency, tax, trading hours, branding, etc. Some settings (like your payment provider) can be per-branch or tenant-wide depending on how your account is set up.
Save and test
After configuring, test the customer-facing side:
- Open your booking widget and make sure prices display in the right currency.
- Make a dummy booking and check the confirmation email — branding, trading hours, address, T&Cs all present and correct.
- Open the invoice PDF for the test booking — logo, tax number, correct tax rate.
- Refund and cancel the test booking when done.
Was this article helpful?
That’s Great!
Thank you for your feedback
Sorry! We couldn't be helpful
Thank you for your feedback
Feedback sent
We appreciate your effort and will try to fix the article