Rooms are where you take bookings — each escape room, VR experience, or virtual game is set up as a room in Booking Phoenix. This guide walks you through creating one from scratch.
settings.edit). Assignable from Settings → Permissions — see Roles and Permissions.
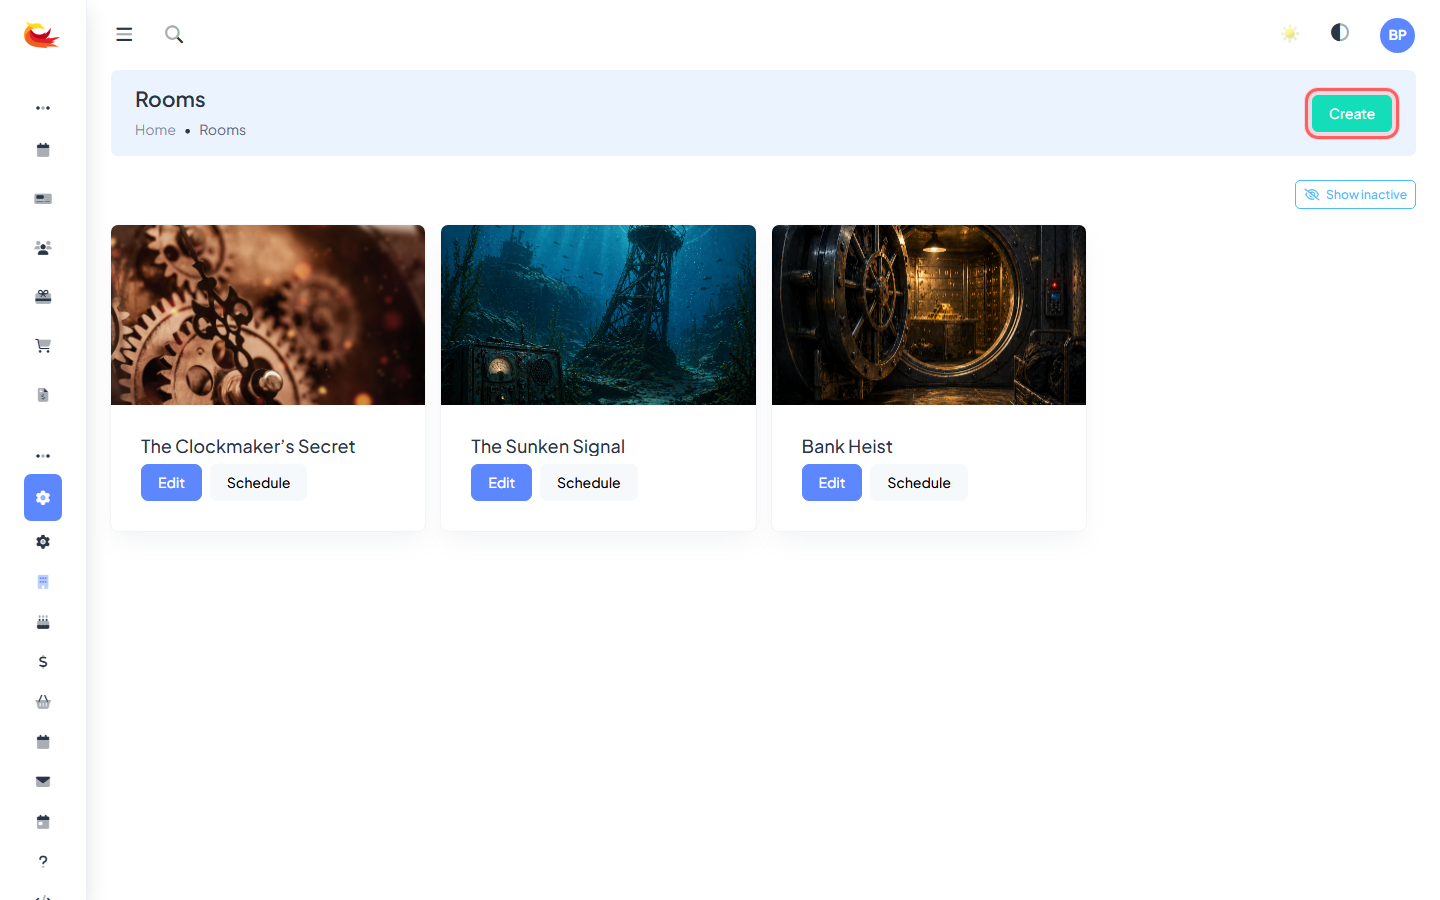
1. Open the Rooms page
From the main menu, go to Rooms. You'll see a grid of all rooms at your branch. Click the Create Room button (top right) to open the new-room modal.
2. Fill in the Details tab
The Details tab is the first thing you'll see. At minimum, you need:
- Name — what customers will see (e.g. "The Vault", "Haunted Mansion").
- Short Description — a one-liner shown on booking widgets and the POS.
- Full Description — the longer version shown on the room's public page.
- Scoring Method — how results are recorded (time-based, points, none, etc.).
- Show On — which calendar this room appears on.
- Room Type — Escape Room, Virtual, or VR.
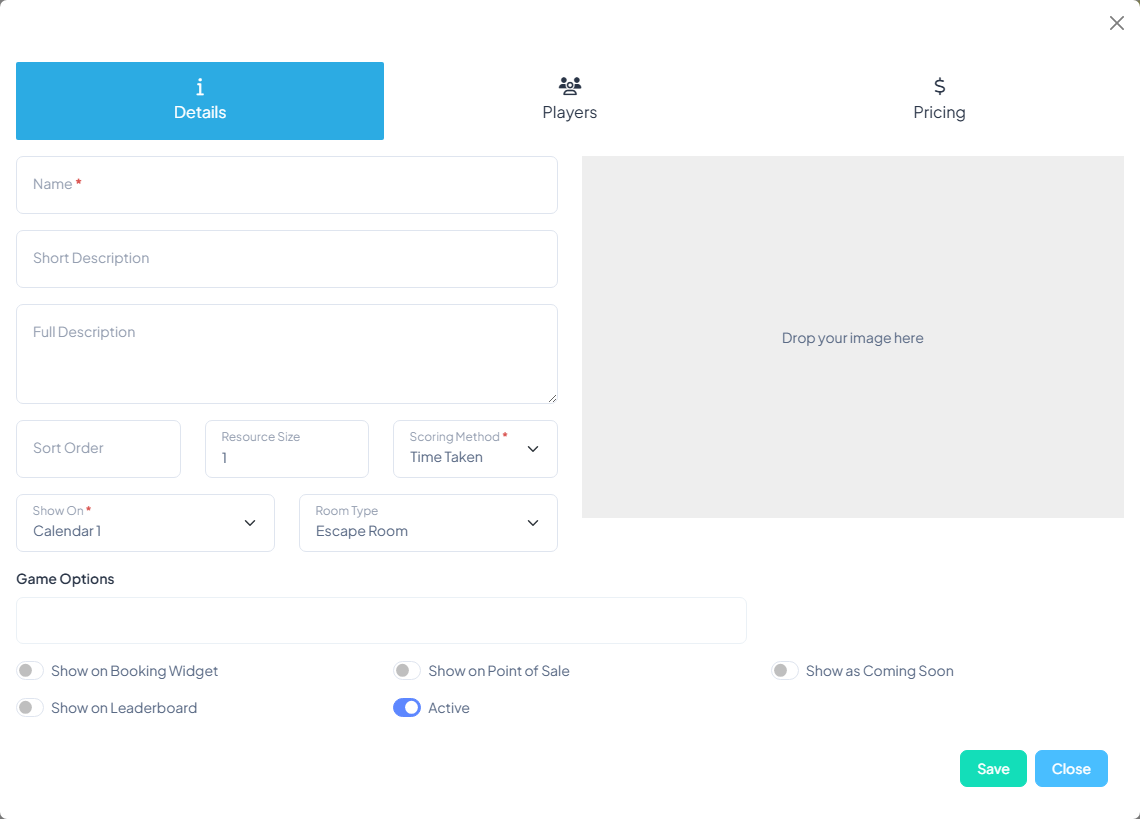
3. Upload a photo
On the right of the Details tab there's an image uploader. Drop in a photo (or click to browse) and crop it to the 274×183 ratio. This is what customers see on the booking widget. Aim for a landscape, well-lit photo of the room itself — avoid logos and text overlays.
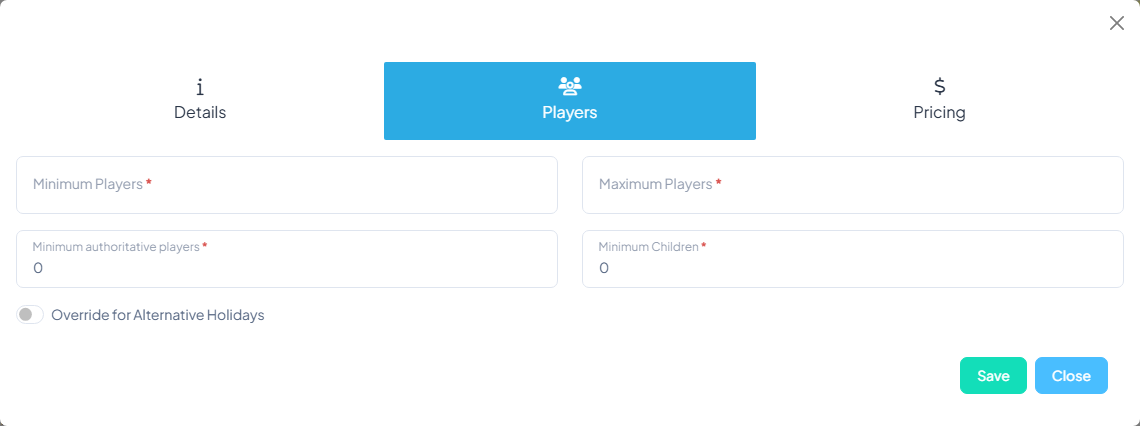
4. Set player limits (Players tab)
Switch to the Players tab and set:
- Minimum Players / Maximum Players — the hard limits for a single booking.
- Minimum authoritative players — the number of adults/supervisors required (often 1 for family-friendly rooms).
- Minimum Children — usually 0.
5. Choose visibility toggles
At the bottom of the Details tab you'll find a row of switches:
- Show on Booking Widget — appears on the public booking page.
- Show on Point of Sale — appears to staff on the POS.
- Show as Coming Soon — displayed but not yet bookable.
- Show on Leaderboard — scores from this room feed the public leaderboard.
- Active — uncheck to hide the room everywhere without deleting it.
6. Save
Click Save. The room is created. You'll now see a Pricing tab and a Schedule button on the room card — those are your next two steps. See our Setting Up Room Pricing and Managing a Room's Schedule guides to finish configuring.
Function rooms
If you're setting up a space for parties or private events rather than a timed game, use the Create Function Room option instead. Function rooms have simpler pricing (a single flat price) and don't require scoring or leaderboards.


Was this article helpful?
That’s Great!
Thank you for your feedback
Sorry! We couldn't be helpful
Thank you for your feedback
Feedback sent
We appreciate your effort and will try to fix the article