This guide walks you through setting up a brand-new schedule for a room — from creating your first season through to adding the daily time slots that make the room bookable. If you haven't already, read How Schedules Work for the conceptual background.
Step 1: Open the room's schedule
Go to Rooms, find your room, and click the Schedule button on the card.
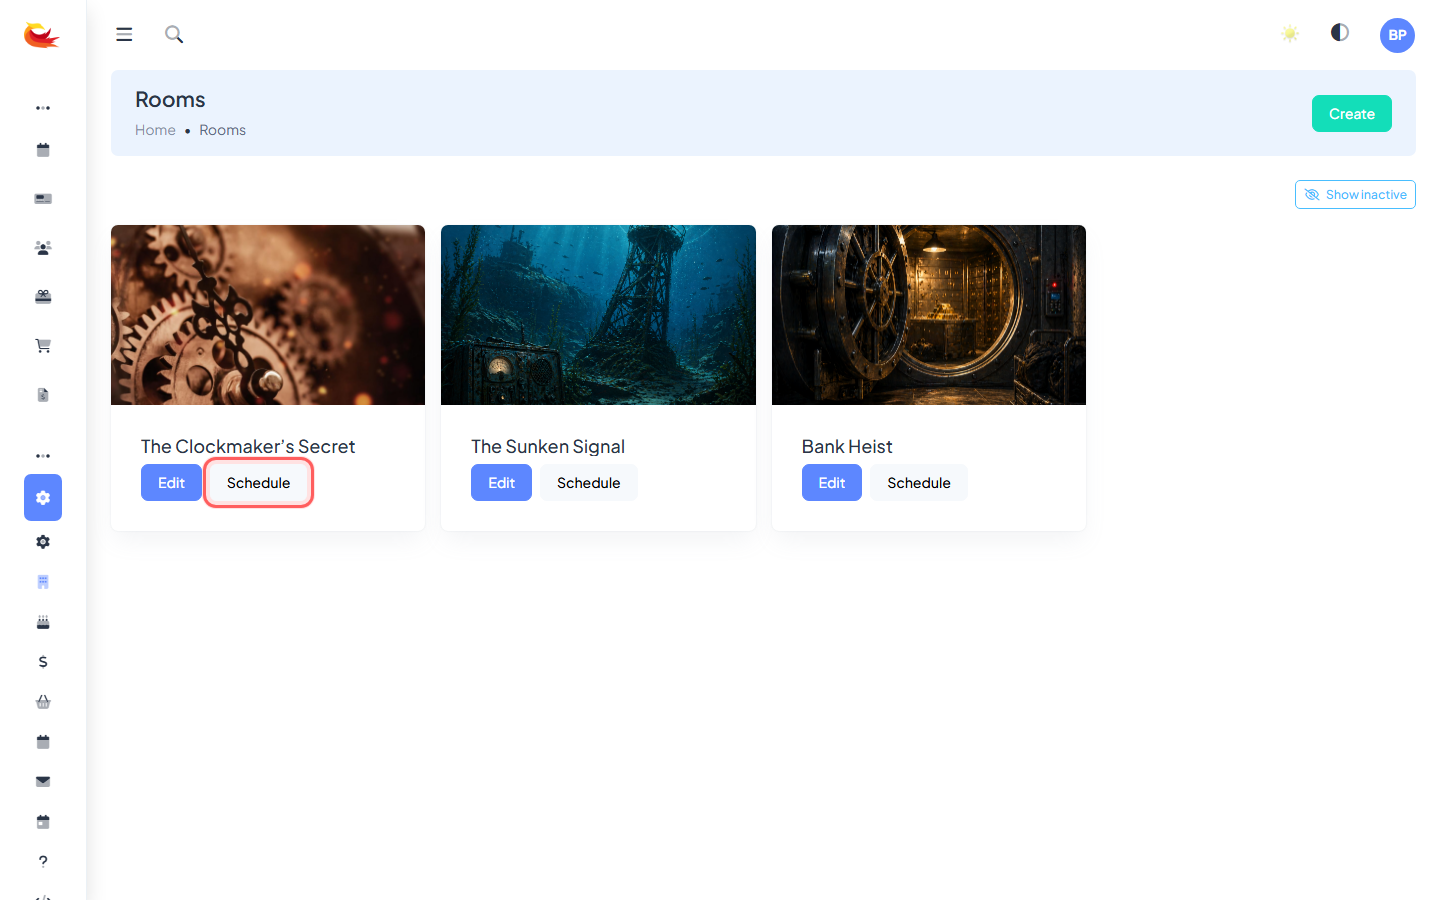
If you haven't created any seasons yet, you'll be prompted to make your first one before you can add slots.
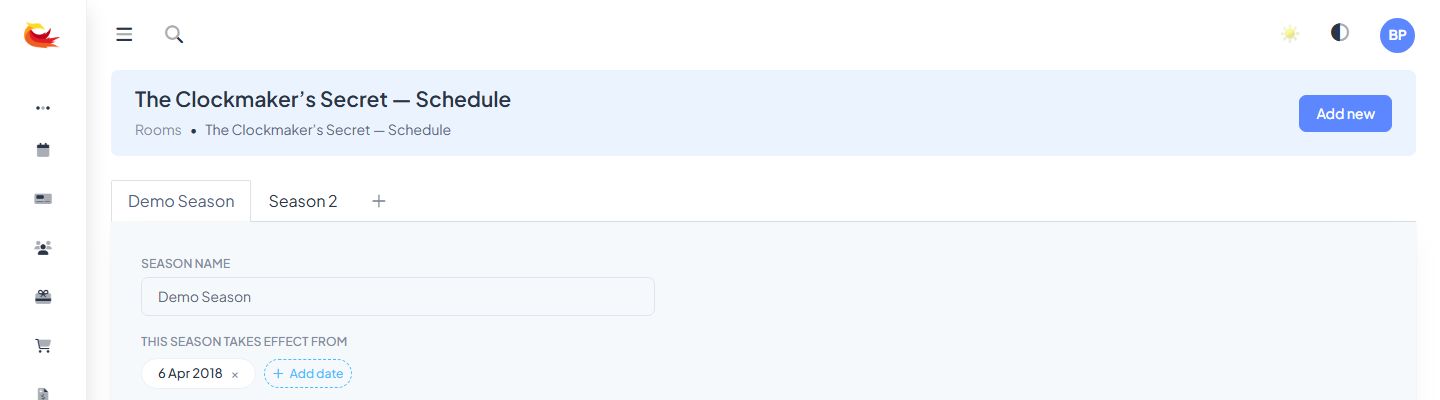
Step 2: Create your first season
A season defines when a timetable applies. For your first season, the simplest option is a single year-round season called "Standard Hours" that covers every date of the year. You can split it later if you need different weekday/weekend or holiday timetables.
- Click the + tab at the end of the season tab bar.
- Enter a name (e.g. "Standard Hours", "Year-Round").
- Add a date range — start and end dates. For a year-round season, pick 1 Jan to 31 Dec of the current year. You can add more ranges by clicking the "add range" button.
- Save.
Step 3: Plan your slots
Before clicking anything, sketch your timetable on paper or a spreadsheet. You'll usually find that your real-world schedule can be captured in just a handful of slots — most escape rooms have between 3 and 7 daily start times. For each start time, note which days of the week it runs.
Example for a typical escape room:
| Start time | Days | Availability |
|---|---|---|
| 10:00 am | Sat, Sun | 1 |
| 12:00 pm | Sat, Sun | 1 |
| 2:00 pm | Every day | 1 |
| 4:00 pm | Every day | 1 |
| 6:00 pm | Fri, Sat | 1 |
| 8:00 pm | Fri, Sat | 1 |
A single slot with multiple day pills selected is better than multiple slots for the same time — it's easier to edit later.
Step 4: Add each slot
Click Add new (top right). A new slot card appears with a dashed border.

- Click the large time display on the left and pick a start time.
- Click each day pill (S M T W T F S) to toggle that day on or off for this slot. Selected pills turn blue.
- Set Availability — leave at 1 for most rooms, or increase if the room can run parallel bookings.
- Click Save on the slot card.
Repeat for each start time. New slots stay in the order they appear in your day — don't worry about sorting manually.
Step 5: Test the result
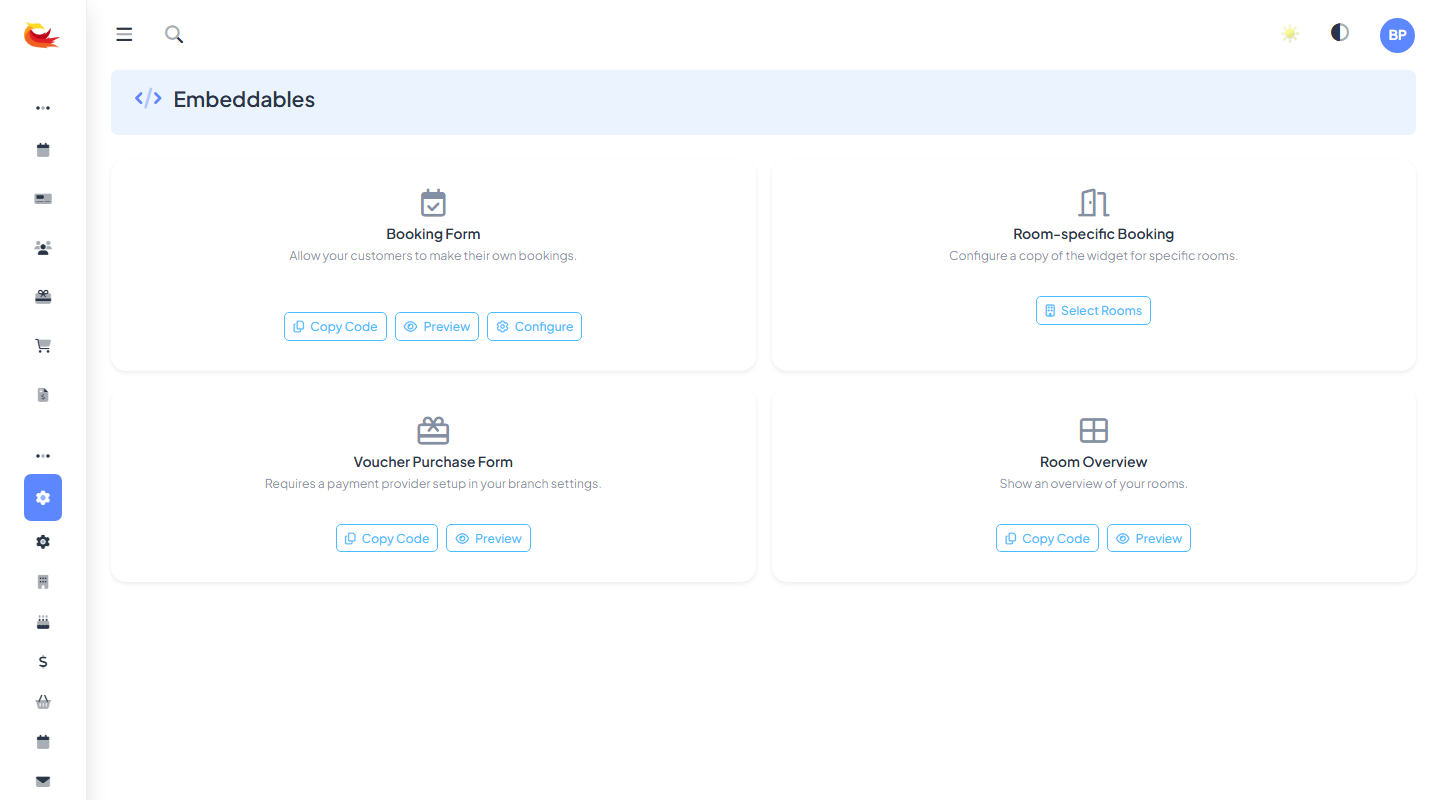
With slots saved, open your booking widget (or Embeddables → Booking Form → Preview) and pick a date. You should see exactly the slots you configured for that day-of-week, with availability respecting any existing bookings.
Managing slots day-to-day
Editing a slot
Click the slot card to edit time, days, or availability. Changes apply immediately to future bookings — a warning count shows if the slot already has bookings attached so you can judge the impact.
Deactivating vs deleting
If you want to pause a slot temporarily, toggle it inactive instead of deleting. Inactive slots collapse into a section at the bottom of the page — they don't appear on the widget, but their historical bookings stay linked for reporting. Deletion is only safe for slots that have never had a booking.
Copying slots between seasons
When you create a second season (e.g. "Summer Hours"), you usually want to start from the same timetable and tweak. Use the Copy from another season dropdown to clone all slots across in one go, then adjust as needed.
Common pitfalls
- Overlapping seasons. Two seasons can't cover the same date for the same room. The system will refuse to save the conflict.
- Wrong season selected. Easy mistake: adding slots to the wrong season tab. Double-check which tab is highlighted before clicking "Add new".
- Day pills not saved. Toggling pills and clicking elsewhere doesn't persist them — you need to hit Save on the slot card.
- Availability vs resource size. These are different. Availability = parallel bookings for this slot. Resource size = shared-resource cap across rooms. Start with both at 1.
Was this article helpful?
That’s Great!
Thank you for your feedback
Sorry! We couldn't be helpful
Thank you for your feedback
Feedback sent
We appreciate your effort and will try to fix the article