The booking widget is a piece of code you paste into your website that embeds the full Booking Phoenix booking experience — your rooms, schedule, pricing, and payment — directly on your page. Customers never leave your site to book. This guide walks through installing it.
Before you start
You'll need:
- Your branch set up with rooms, schedule, and pricing (customers need something to book).
- Stripe connected if you want to take payments through the widget (see Setting Up Stripe).
- Access to edit the HTML of your website — WordPress admin, Squarespace code block, Wix custom element, raw HTML, etc.
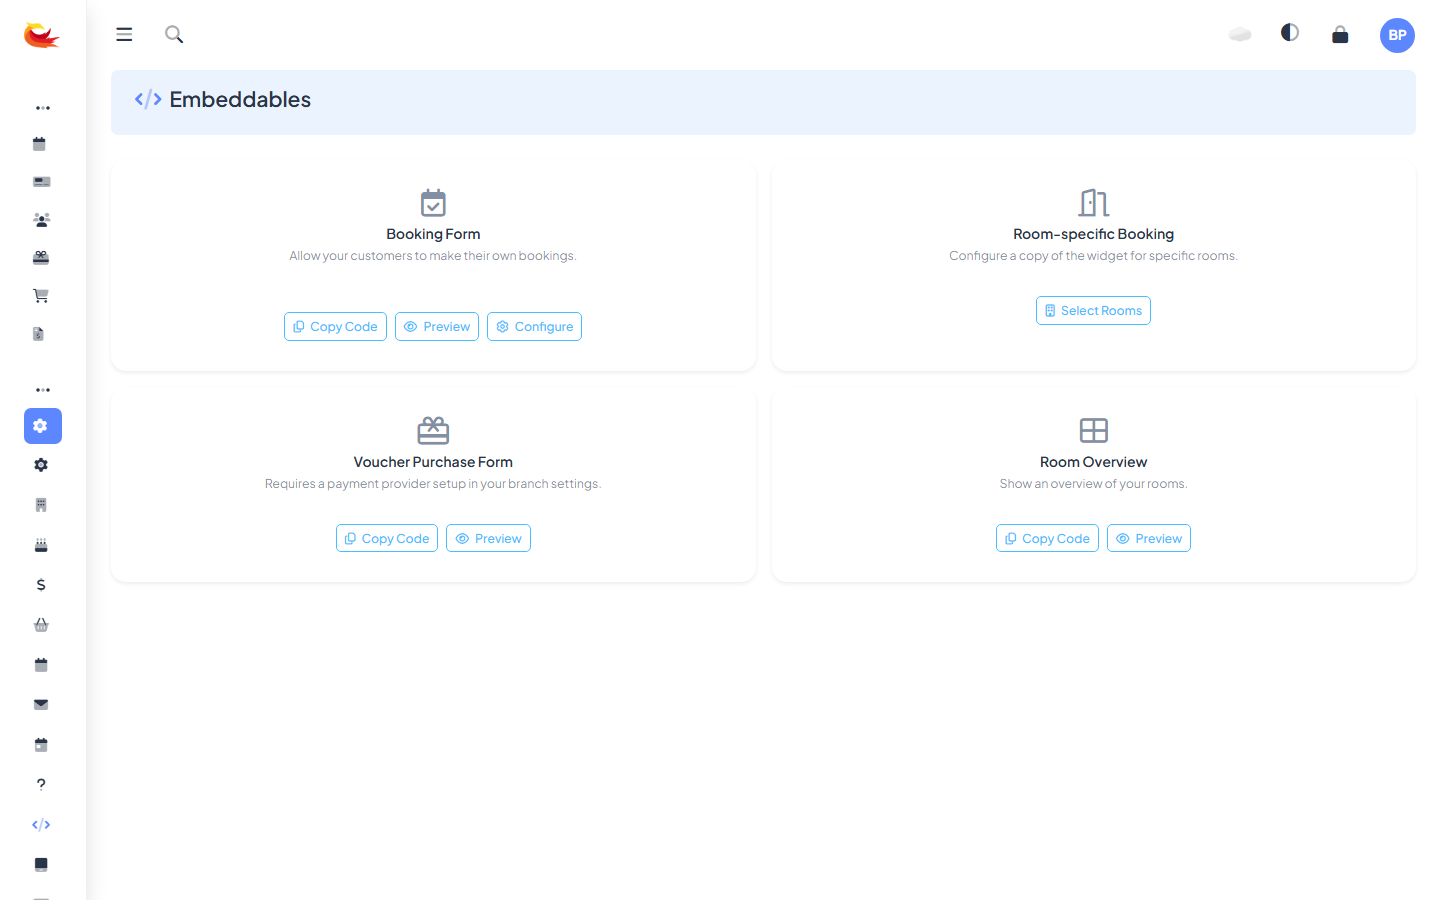
1. Grab the widget code
In Booking Phoenix, go to Settings → Embeddables. You'll see a gallery of embeddable widgets — Booking Form, Room-specific Booking, Voucher Purchase Form, Room Overview.
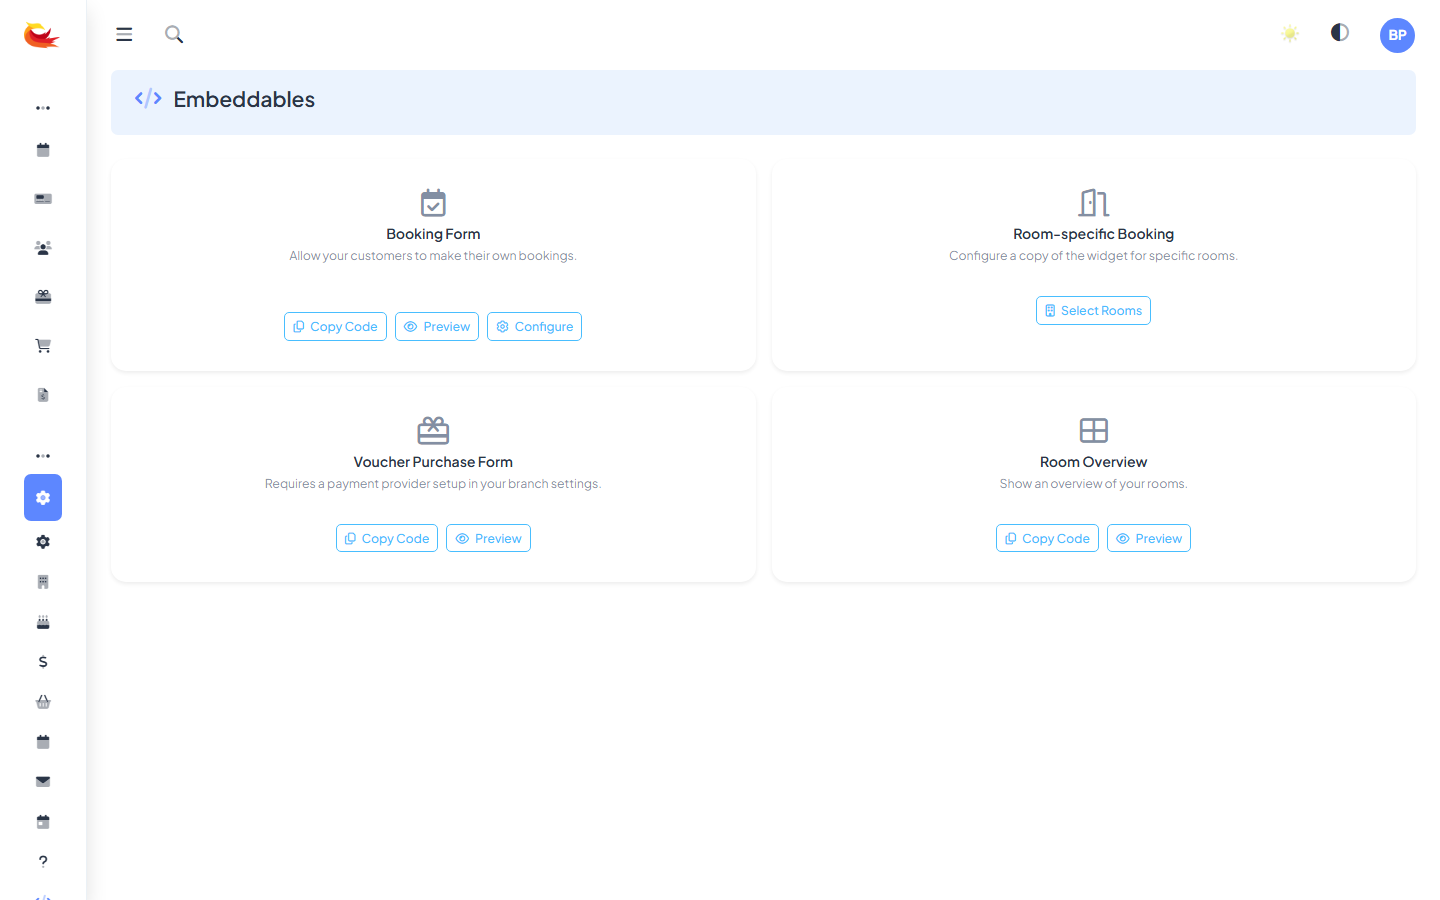
On the Booking Form card, click Copy Code. The HTML snippet is copied to your clipboard. It'll look roughly like:
<script src="https://..."></script>
<div id="booking-widget"></div>
2. Paste it into your website
Where exactly depends on your website platform:
WordPress
- Create or edit a page (e.g. "Book Now").
- Add a Custom HTML block.
- Paste the code inside the block.
- Publish.
Squarespace
- Edit the page.
- Add a Code block.
- Paste the code.
- Save.
Wix
- Go to Settings → Custom Code (or use the Embed HTML widget on a page).
- Paste the code. For Wix you'll typically need the Custom Embeds → Embed HTML element, not a script block.
- Publish.
Raw HTML
Paste the code where you want the widget to appear in the body of your page. The widget inherits your page's font and background but is self-contained otherwise.
3. Preview
View the page on your live website. The widget should load within a second or two, showing your rooms and a calendar. Click through as a test customer:
- Pick a room.
- Pick a date and time slot.
- Enter your own details.
- Take the booking all the way to the confirmation screen.
Use a real email address so you can check the confirmation email. If the test booking was for a real slot, refund and cancel it when done (see Editing or Cancelling a Booking).
4. Configure the widget
Back in Embeddables, click Configure on the Booking Form card. You can customise:
- Which rooms appear — show all rooms or only a subset.
- Default view — jump straight to a specific room's calendar, or let customers pick.
- Required fields — add/remove optional booking fields (phone, notes, marketing consent).
- Colour scheme — inherit from your site, or override with brand colours.
Changes apply immediately — no need to re-copy the code or re-paste it. The embedded widget pulls configuration live.
Room-specific widget
Instead of one widget with all rooms, you can embed a widget for a single room (or a hand-picked subset) on a dedicated page. Useful when your website has one page per room.
On the Embeddables page, click Select Rooms under the Room-specific Booking card, tick the rooms, and the widget code that appears is configured for just those rooms. See Room-Specific Booking Widget for the full walkthrough.
Troubleshooting
Widget doesn't load
Open your browser's developer tools (F12) and check the Console tab. Common issues:
- Script blocked — your site has a content security policy blocking external scripts. Ask your web developer to whitelist
*.bookingphoenix.com. - Script not loaded — the code was pasted as plain text, not HTML. Check your CMS has an "HTML" or "code" block (not a text/paragraph block).
- Ad blockers — some aggressive ad blockers mistakenly block the widget. Test in incognito mode.
Widget loads but no rooms appear
- Check Show on Booking Widget is on for each room (on the room edit modal).
- Check your season has date ranges covering the current date.
- Check each room has time slots configured for the current season.
Payment step errors
- Confirm Stripe is connected and the "Connected" indicator is green in your payment settings.
- Confirm your Stripe account is fully activated (not still in setup).
- Try a test booking with a test card (4242 4242 4242 4242) to isolate whether the issue is Stripe config or card-specific.
Styling looks off
The widget inherits your page's fonts and some colours. If you need a different look, use the Configure modal's colour override settings. For deeper CSS customisation, ask support — there are a few hooks available.
Going live
Once the widget is working and you've taken a successful test booking:
- Refund the test booking.
- Remove any test rooms/slots that were just for the test.
- Announce the new booking page to your audience.
- Watch the bookings come in.
Was this article helpful?
That’s Great!
Thank you for your feedback
Sorry! We couldn't be helpful
Thank you for your feedback
Feedback sent
We appreciate your effort and will try to fix the article