The Voucher Designer is where you customise the PDF that customers receive when they buy or redeem a gift voucher. Think of it like a business-card editor — you drag around your logo, text, and imagery until the voucher looks how you want, then save the template.
Opening the designer
Go to Settings → Vouchers → Designer, or open a voucher and click Edit Template. The designer opens in a full-screen canvas view.
Canvas layout
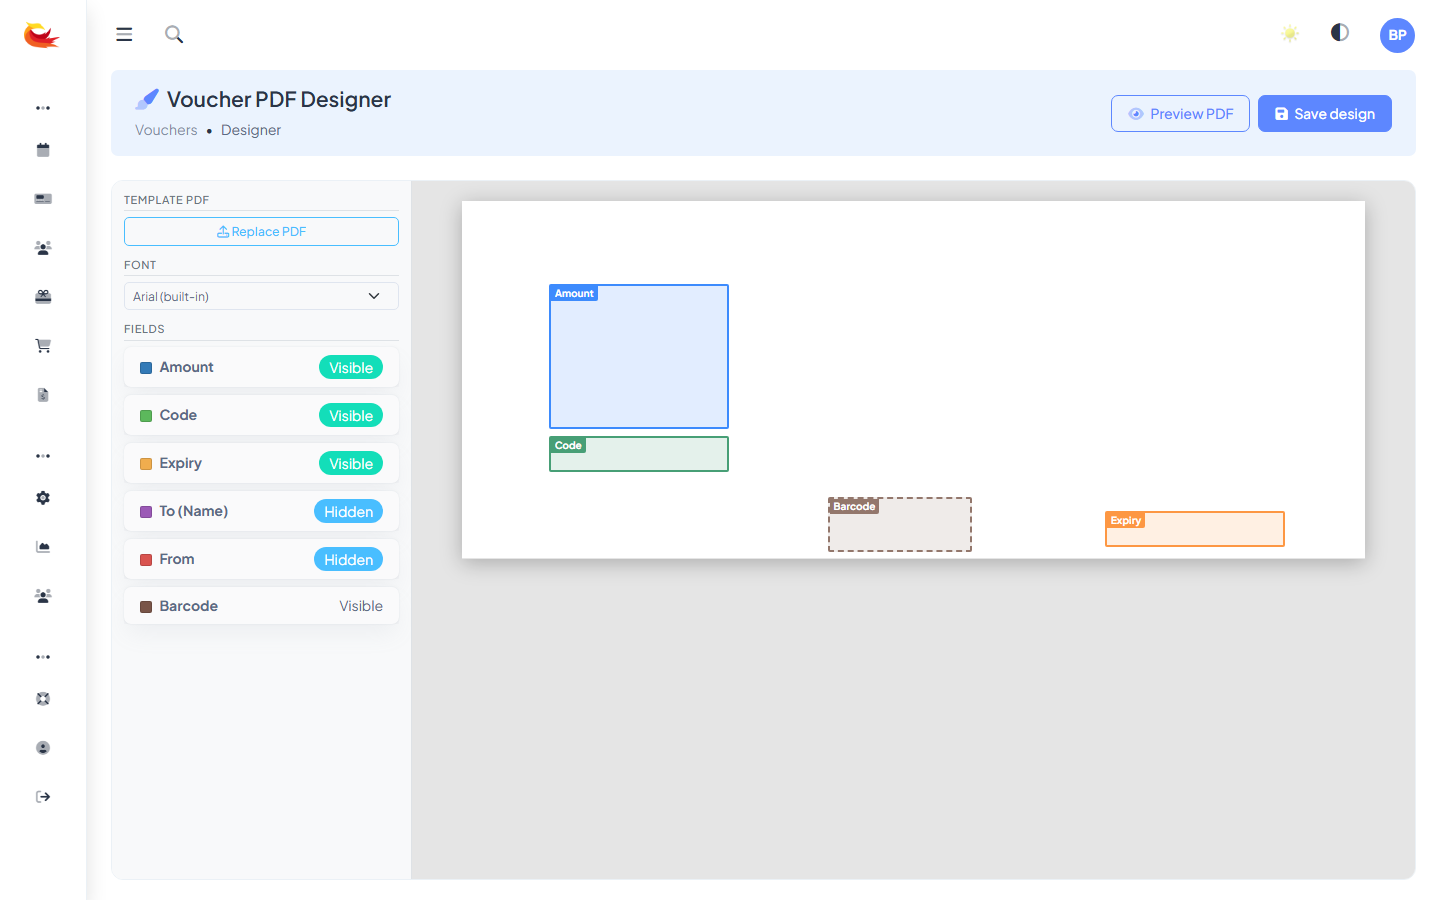
The canvas is a scaled representation of the voucher PDF. What you place there is exactly what customers see — with live data (amount, recipient name, code) substituted in at render time.
Most templates are designed at greeting-card size (A5 or 5×7 inches). The designer shows rulers and a grid to keep elements aligned.
Elements you can add
Static elements
- Text box — any static text. Your venue name, a tagline, T&Cs, address.
- Image — logos, background art, decorative illustrations.
- Shape — rectangles, lines, dividers for layout.
Dynamic elements (merge fields)
These pull from the voucher record at render time:
- {{ amount }} — the face value (e.g. "$100").
- {{ balance }} — remaining balance if partially redeemed.
- {{ code }} — the redemption code.
- {{ recipient_name }} — who it's for.
- {{ sender_name }} — who it's from.
- {{ message }} — the personal note.
- {{ expiry }} — formatted expiry date.
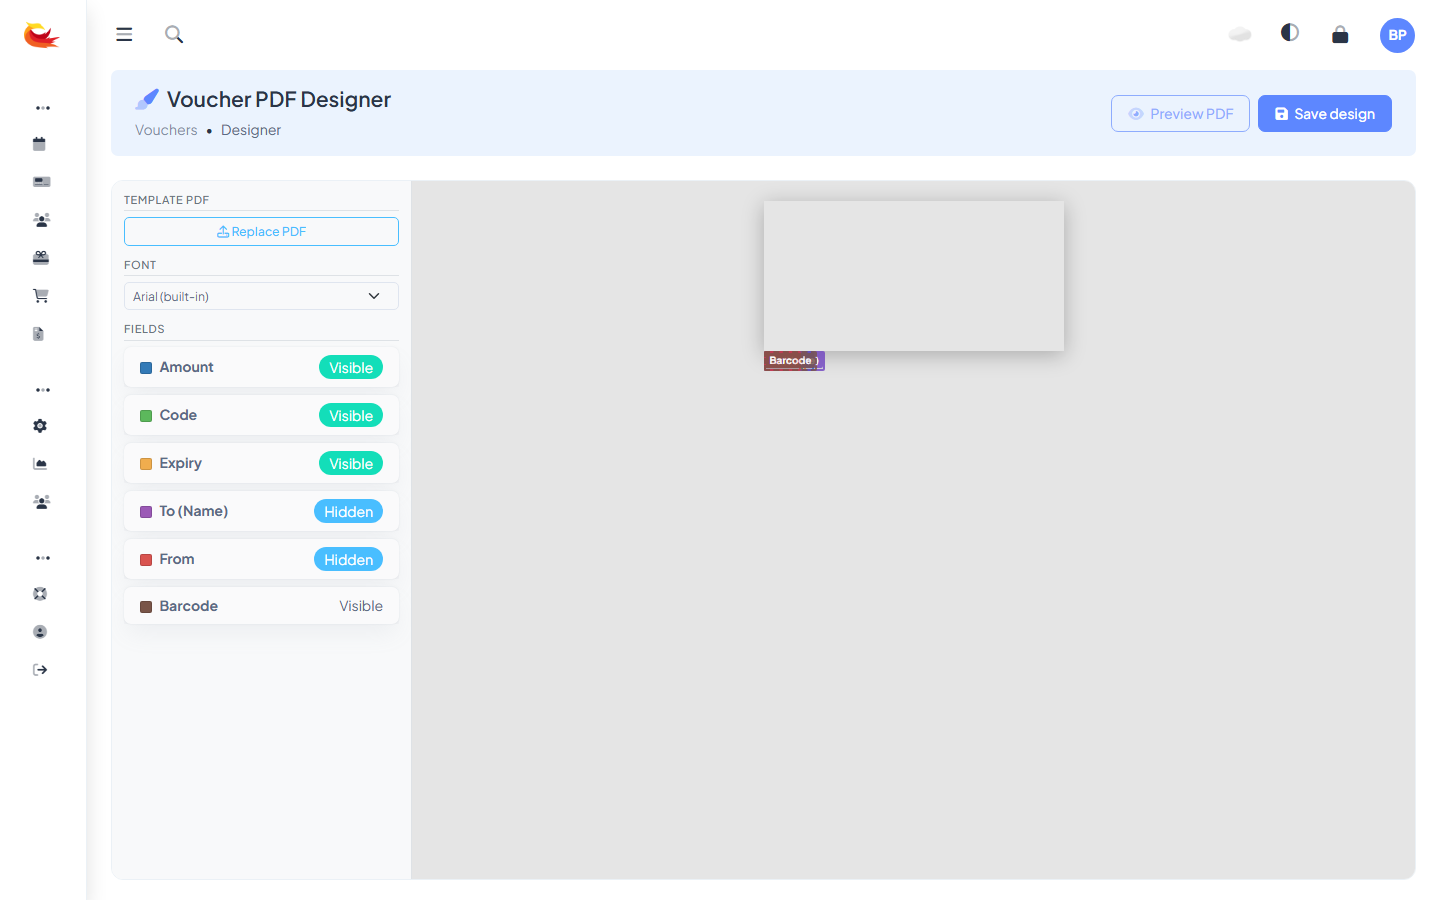
- {{ qrcode }} — a scannable QR code linking to the redemption page.

Working with elements
Standard editor controls:
- Drag to move.
- Drag corners to resize.
- Click to select — properties appear in the right panel.
- Delete key to remove a selected element.
- Layer controls — bring to front / send to back for elements that overlap.
Typography
For each text element, set:
- Font family (from a curated list of web-safe and brand fonts).
- Size, weight, italic, underline.
- Colour (colour picker or hex input).
- Alignment (left, centre, right, justify).
- Letter spacing and line height for fine-tuning.
Working with images
Upload images directly (PNG, JPG, SVG) or pick from previously uploaded assets. For a polished result:
- Use high-resolution images — PDFs will print, and low-res pixelates fast.
- SVG logos scale cleanest.
- Set the image opacity low if you want it as a background behind text.
Backgrounds
You can set a background image (a themed illustration, a brand pattern) or a solid background colour for the whole voucher. Backgrounds sit behind all other elements.
Preview with real data
Click Preview at the top of the designer. The canvas redraws with example data instead of merge-field placeholders — so you see what the customer will actually get. Toggle between preview and edit mode freely.
Saving and templates
Click Save to write your changes. From this point on, all new voucher PDFs use the updated template. Existing vouchers already issued aren't re-rendered — they keep whatever template was active when they were created.
If you want multiple voucher designs (e.g. "Christmas" and "Birthday" variants), save each as a separate template. When issuing a voucher, pick which template to use. Templates that aren't the default are picked from a dropdown on the Create Voucher modal.
Design tips
- Don't crowd the amount — it's the most important visual element. Make it big and prominent.
- Readable code — print the code in a monospace font, large enough to read from a phone photo.
- Expiry is legal text — don't bury it. Clear expiry info reduces customer service tickets later.
- Include T&Cs — small text on the back with redemption conditions, contact info for your venue, and a note about non-transferable status (if applicable).
- Test print — PDFs look different on screen and in print. Print one to check margins, bleed, and colour accuracy.
Accessibility
Vouchers are often redeemed on phones. Design choices that help:
- High contrast between code text and background.
- Large code font (20pt+).
- QR code as well as typed code — scannable by anyone with a phone camera.
Reverting mistakes
Save snapshots before a big redesign — the Designer has undo/redo during a session, but there's no "go back to last month's version" unless you've saved copies as separate templates. A simple safety net is to duplicate the template, experiment on the duplicate, and promote it once you're happy.
Was this article helpful?
That’s Great!
Thank you for your feedback
Sorry! We couldn't be helpful
Thank you for your feedback
Feedback sent
We appreciate your effort and will try to fix the article